I want to introduce you to a new term that you'll be seeing around here from time to time; "Wooden Spoon Recipe."
Simply put, any recipe that you can put together with some sort of bowl (could even be a pot), some amount of arm strength and a wooden spoon (technically, any stirring device, hands included) will be branded as a Wooden Spoon Recipe. WSR? WSRecipe? Okay, it's not exactly a catchy title, but it is what it is.
Yes, if you have an electric mixer of any sort, you're obviously more than welcome to use it, but for those of you who may be baking dabblers or simply not yet baking equipped, look out for that term, that means that the recipe is perfect for you.
Not to say that it would be any less of a recipe. Let's not look down at these recipes, as if not needing electricity to blend and mix means they're inferior. There are plenty of great tasting baked treats that only require a single bowl and a spoon. My favourite carrot cake, for example. Or those moreish black bottom muffins. Don't be fooled by the title, just because it's an "easy" recipe doesn't mean it won't still be delicious.
I think the bonus of not having to clean up an array of bowls and mixer attachments makes these recipes slightly more appealing, maybe even subconsciously more delicious. What can I say, I love the baking, hate the clean up. And I don't think I'm alone. (Yeah, I'm looking at you over there.)
So, I was rather pleased that while researching recipes for an upcoming baking class, I discovered that biscotti recipes are in fact WSRecipes. Certainly the more traditional ones, anyway. (What's another word for recipe, I seem to be saying it a lot!)
I've long since wanted to make my own biscotti, but for some reason my brain convinced me that because of the double baking method, the actual mixing would be doubly complicated as well. Not sure why my brain leapt to that conclusion, but that's what has put me off from even looking up a recipe until now.
Actually, finding a recipe took longer than mixing everything together. As you can imagine, when a baked treat has been around for as long as this one, there are very many variations and modern spins or new ingredients added. I wanted to try find a recipe more true to the origins.
Most of the recipes that came up in my search included butter. I wanted a recipe without butter, as I believe (and maybe I'm wrong) that "old school" biscotti don't use butter. It's an unnecessary step that produces only a slight change to the flavour, and if you know anything about Italian cooking, the best recipes are those that seem the simplest and with the least amount of ingredients.
Eventually I found one that looked about right. Then my only decision was what to put in to my dunkable little friends. (That's right, I'm a dunker, and I live on the edge of dunking. I'll dunk that one second longer than you think is safe. I'm not a safe dunker, I like the danger!)
(And I keep a teaspoon handy just in case *shrugs*)
A flavour that has been brought up from time to time in my food memory was of a packet of biscotti that I'd bought from Woolworths (M&S) in South Africa about 10 years back. (Wow, how has it been 10 years already?) Pecan nut and coffee. And not coffee flavoured, with actual coffee, as in, crushed coffee beans. You could see small and large flecks all through the biscotti. I wasn't entirely convinced that having crunchy and somewhat shrapnel-like beans would be a pleasant eating experience, but I was curious.
Turns out, friggin' delicious!
Perfect with a cup of coffee or espresso
The coffee beans, while very crunchy, weren't any more difficult to chew or swallow than the sweeter and softer pecan nuts. And the flavour! Wow! Having crushed beans in there gave the obvious coffee flavour, but it was more than that, smoky, rich, deep. They were so damned good!
And then they stopped making them. Wha...?!
Turns out it was one of those here today, gone tomorrow types of products. Oh well, at least it left an impression, one that's been with me for a decade.
So why did I decide after all this time to swap out the pecan nuts for hazelnuts? Sorry, there is no complicated answer to this culinary decision. I just thought that hazelnuts would taste good with the coffee. And they did.
Next time, I'll try the pecan/coffee combination again, considering how long those biscotti have been on my mind, I owe it to myself, don't you think?
As for this recipe, my not-really-a-coffee-drinker friend who was with me on the day that I baked these has been on me to post the recipe since that day. She tells me that they've appeared to her in dreams and visions. Well, not quite, but she's certainly been left with a good aftertaste that's making her want more.
So, here it is. Very dunkable, very moreish; Hazelnut Coffee Bean Biscotti. Enjoy!
Hazelnut Coffee Bean Cantucci (Biscotti)
Makes 24 large or up to 60 small cantuccini
| Ingredients | ||
|---|---|---|
| 325g | 11½oz | Plain Flour |
| 250g | 9oz | Caster Sugar |
| 1½ tsp | 1½ tsp | Baking Powder |
| ½ tsp | ½ tsp | Salt |
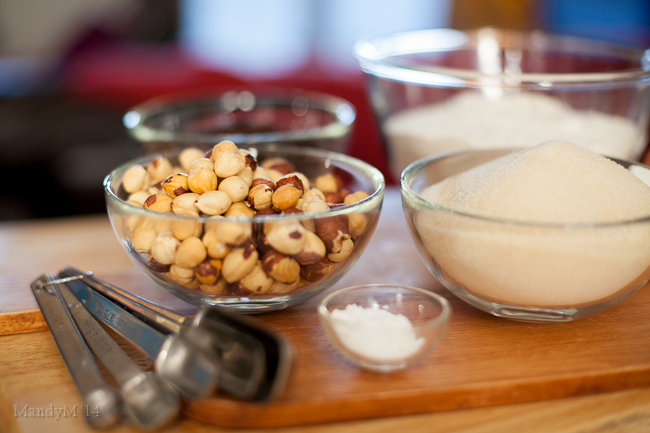
| 250g | 9oz | Hazelnuts* |
| 30g | 1oz | Coffee Beans |
| 3 | 3 | Eggs, lightly beaten |
| 2 tsp | 2 tsp | Vanilla Extract |
Method
- Preheat oven to 180°C (160°C Fan assisted) / 350°F
- Line two baking sheets with parchment paper
- Use the flat of a large knife or pestle and mortar to roughly crush the coffee beans
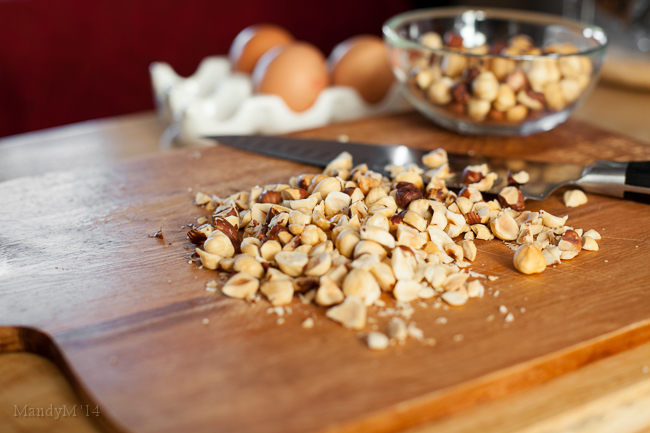
- Roughly chop half of the hazelnuts
- Combine all of the dry ingredients, including the nuts and coffee beans, in a large bowl and mix well
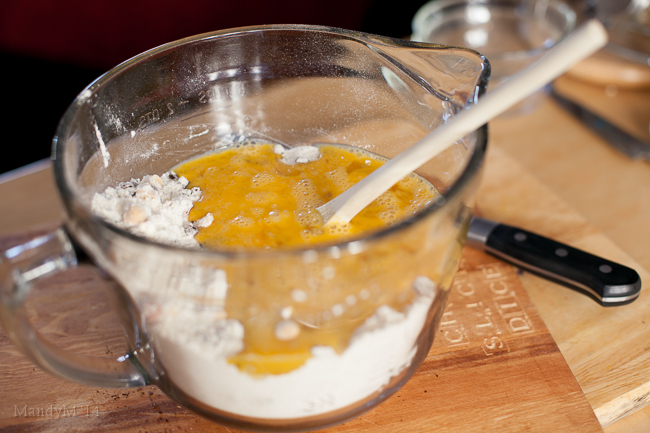
- Add the beaten eggs and vanilla and stir together to form a stiff dough
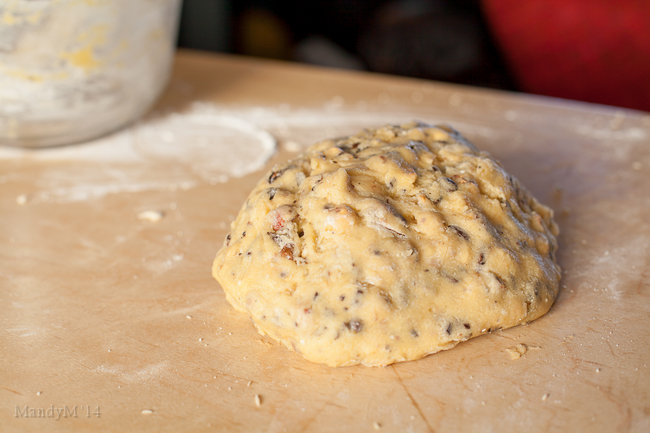
- Scrape the dough out onto a well floured surface
- Divide the dough into two
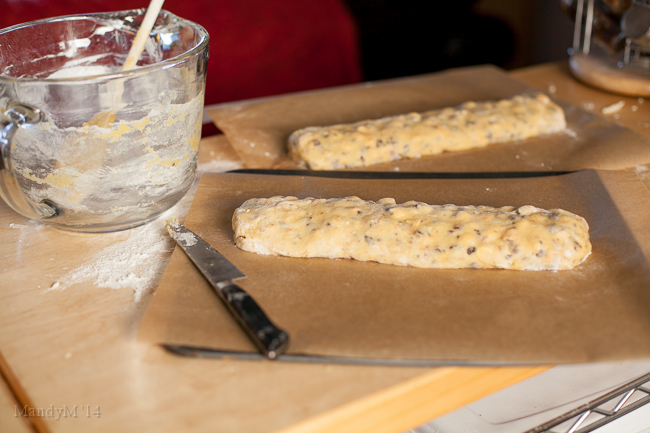
- Roll and shape each half into a long flat log shape just shorter than the baking sheets
- Tip: The dough will be a bit sticky so keep your hands and tabletop well floured
- Place each log on to the prepared baking sheets and reshape as needed and pat down the top so that it's slightly flat
- Tip: The dough will spread quite a bit while baking, so the thinner you make the logs, the smaller the biscotti will be
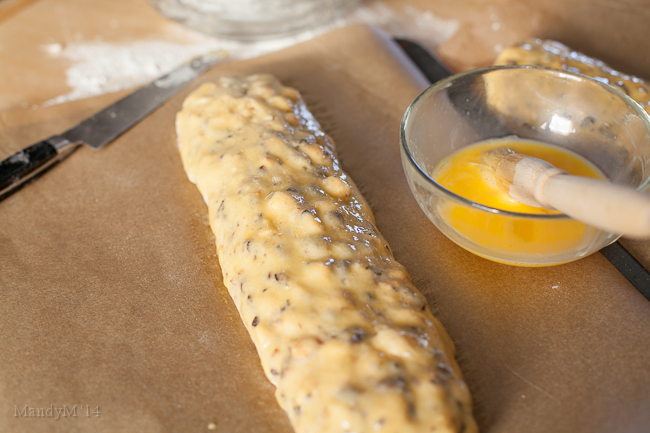
- Dust the tops with powdered sugar or brush each log with an eggwash
- Bake until golden and feel firm when pressed with your fingertip, about 25 - 30mins
- Remove from the oven and leave to cool, about 10mins
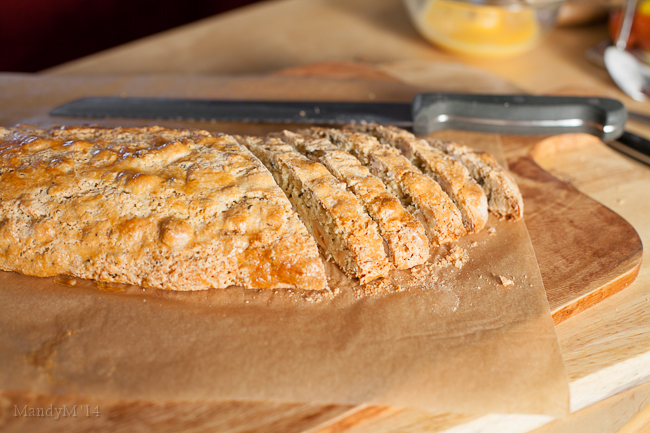
- When logs are cool enough to touch, use a serrated bread knife to cut logs diagonally into slices about 1cm thick
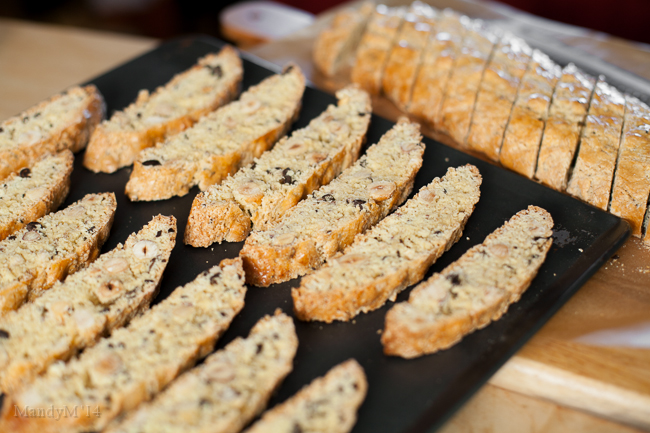
- Arrange the biscotti back onto the prepared trays, cut side down
- Tip: While still warm they can be fragile, so handle carefully
- Return to the oven (180°C / 160°C fan assisted / 350°F) and bake for a further 15 - 20mins
- Tip: The longer you bake them, the drier and crunchier they will be. At 15mins, you're still able to eat them without needing to dunk for fear or breaking your teeth ;)
- Remove from the oven and leave to cool completely
- Enjoy!
Recipe adapted from Chef Jim Fisher's Cantuccini recipe that I found on a forum.
Other Tips:
* Regarding the hazelnuts:
- Spread the hazelnuts on a baking tray
- Bake for 5mins in a 120°C (100°C fan assisted) oven (they will only be partially roasted at this stage, once baked in the biscotti, they'll be fully roasted without burning and becoming bitter)
- Place hazelnuts in a clean dishtowel
- Gather up the corners of the dishtowel to enclose the hazelnuts inside
- Vigorously rub the hazelnuts together to remove the skins
Biscotti keep very well, keep completely cooled biscotti in an airtight tin or other container


