The Daring Bakers’ February 2012 host was – Lis! Lisa stepped in last minute and challenged us to create a quick bread we could call our own. She supplied us with a base recipe and shared some recipes she loves from various websites and encouraged us to build upon them and create new flavor profiles.
I was thrilled that my friend Lis was hosting this challenge. She goes on about how she's not a baker, but honestly, I think she's talking a load of bull. Lis might prefer to be cooking, but I say she's just fine in the baking department. Case in point, this month's challenge of quickbreads.
She came up with an amazing range of quickbreads for everyone to try if they wanted, or they could use their own quickbread recipes.
I was also thrilled at the idea of quickbreads as a challenge, especially for the beginning of a new year. Some might wonder what's so daring about quickbreads, and although they're not technically daring they can certainly challenge you in the area of creativity. Besides, I think I wasn't the only Daring Baker who was welcoming the back-to-basic type of challenges that we've been having. The start of the year is chaotic enough without having to worry about making all sorts of involved challenges.
If you've never heard of a quickbread, basically it's a bread that's quick to make. That is, there's no yeast and no waiting times. Quickbreads are risen with baking powder and or baking soda, hence the quick. Mix your ingredients, pour into your pan, straight in the oven, baked and ready to eat in no time, unlike yeasted breads where you might only see the fruits of your labour hours to a day later.
Now, because quickbreads aren't yeast risen they do have a very different texture. I've not come across a quickbread that's as light and airy as a yeasted bread, so that's one of the major differences between the two kinds. But that's ok, quickbreads are just fantastic. Dense and flavourful, filled with whatever ingredients you can think of.
A slice of still warm quickbread spread with butter makes a great snack, or toasted for breakfast or to dip into a steaming bowl of soup, or even used to make open sandwiches, how you choose to enjoy your quickbread is up to you.
As for flavours, like I mentioned, the options are endless. Sweet or savoury you can do what you like in this category of baking. Banana bread, carrot bread, Irish soda bread. Add olives, cheeses, herbs of every kind, cured meats, marinated vegetables or seeds. Chocolate chips, chunks of fruit, sweet spices like cinnamon or ginger, various nuts and dried fruits. Quickbreads are great fun to play with.
Lis gave us a basic unflavoured quickbread recipe to use if we wanted to make our own creations. She also gave us a great selection of already flavoured recipes like prune bread; green onion, cheddar and asiago beer batter bread; pumpkin bread with maple cream cheese filling and meyer lemon loaf. We were also allowed to use our own recipes so long as from start to finish, the recipe didn't take longer than an hour and a half.
I've been wanting to make my mom-in-law's recipe for ages and this was a good time for it. This is a recipe she clipped out of a magazine ages ago, I would call it a retro recipe. Why is it retro? I dunno, something about the "style" of the recipe just says retro to me. Possibly because of one of the ingredients. Instant soup powder.
Sounds weird, I know, but just carry on reading, it actually makes a lot of sense.
Her original recipe is an onion and cheese bread. Its onion flavour actually comes from thick white onion soup powder. Along with the onion soup, it also includes chives, garlic salt and grated cheddar. In my opinion, adding your flavour using a soup mix is actually pretty darn smart. If I were to do a retro revamp I'd probably include chunks of caramelised onion, actually, I'm adding that to my to-bake list.
However, this time round I couldn't make it exactly like her recipe. For some reason, the Irish have yet to discover the wonders of onion soup and I have yet to see instant onion soup anywhere in the stores. I was too lazy to get to the South African store to buy some brown or white onion soup so decided to try something else instead.
The end result was a bread that I can completely call my own, and it was good.
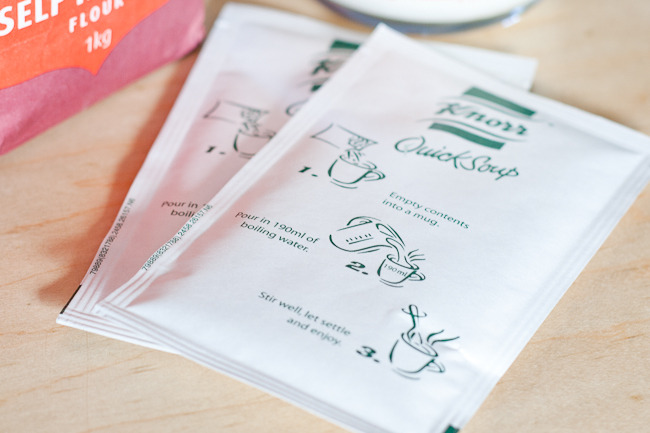
I stuck with using cheese and went with a lovely aged white cheddar. I subbed the onion soup for a spicy tomato soup. I also added wheatgerm 'cause we're trying to include more fibre in our diets. Kept the garlic salt and chives but also threw in mixed seeds.
My hubby agreed that this was a good combo of flavours. There was a hint tomato that came through at the end, not spicy at all by the way, which we wouldn't have minded. The cheese with the tomato was great, that's always a good pairing. The seeds added extra texture and a nutty flavour. The chives and garlic salt didn't overpower but added a bit of depth to everything.
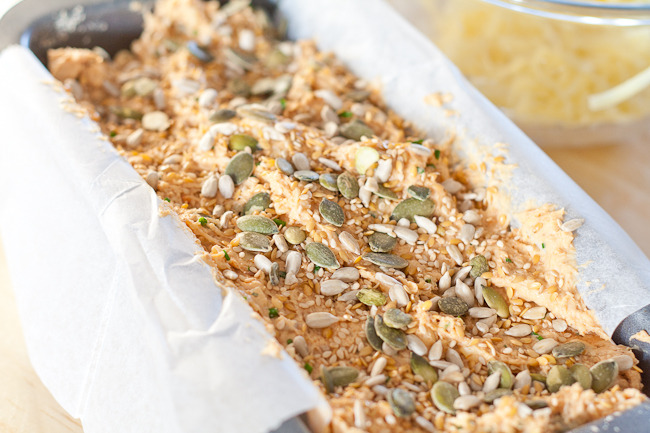
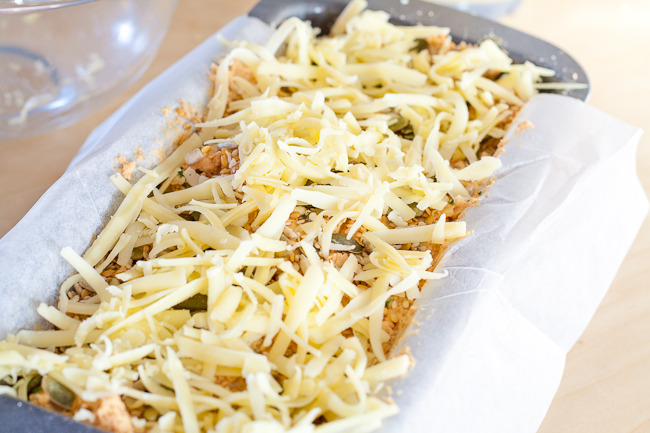
Basically, we loved it. I think my favourite part was the crust. I'm not sure what my reasoning was behind sprinkling with mixed seeds and then the cheese, but in hindsight it would probably look better the other way round. Next time!
To see the recipes that Lis gave us, follow this link.
Tomato & Cheese Seeded Loaf
Ingredients
500g Self Raising Flour
2x 25g Instant Spicy Tomato/Tomato Soup Powder
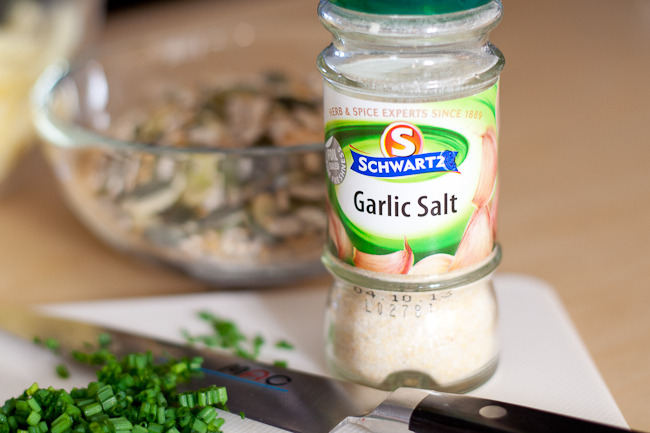
1tsp Garlic Salt
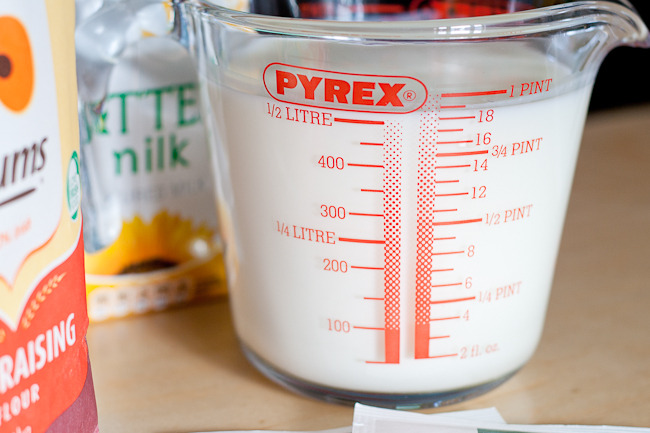
500ml Buttermilk
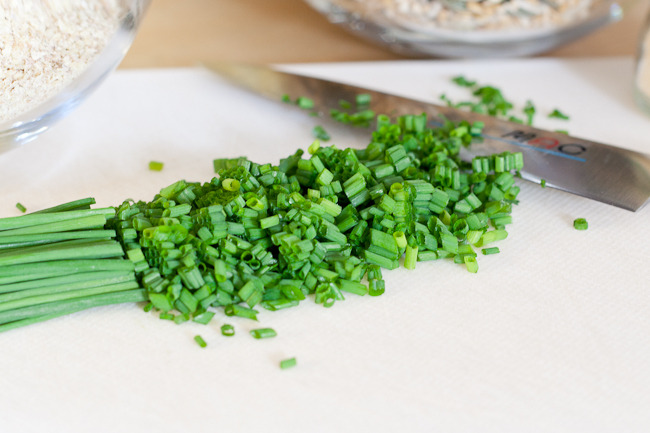
1/4 cup Fresh Chopped Chives
1/2 cup Wheat Germ (optional)
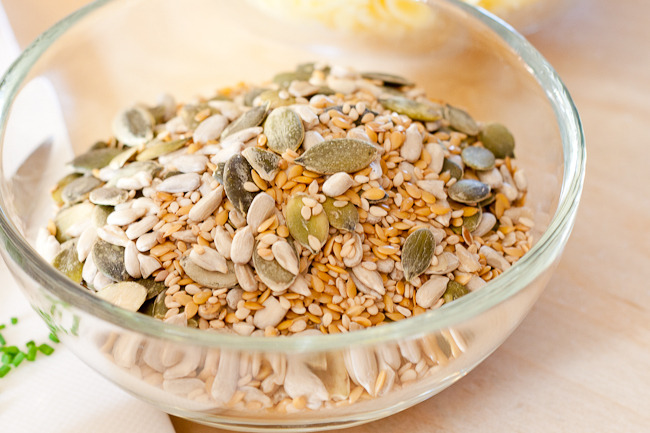
1/2 cup Mixed Seeds, plus extra for sprinkling
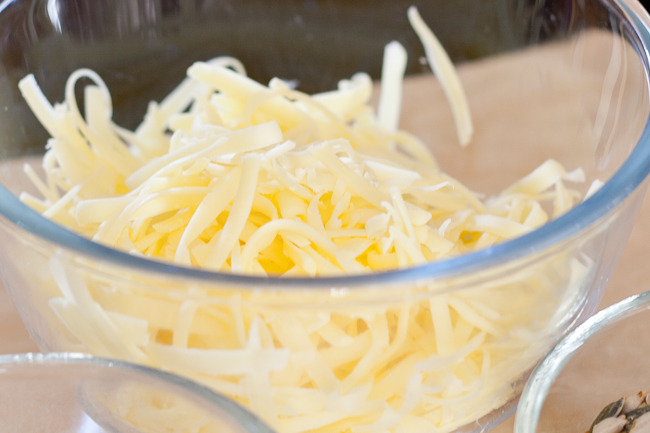
100g Strong Cheese, grated (about 1 packed cup) plus extra for sprinkling
Method
- Preheat oven to 180°C (160°C Fan Assisted)
- Line a bread loaf baking pan with parchment paper, lightly grease and flour
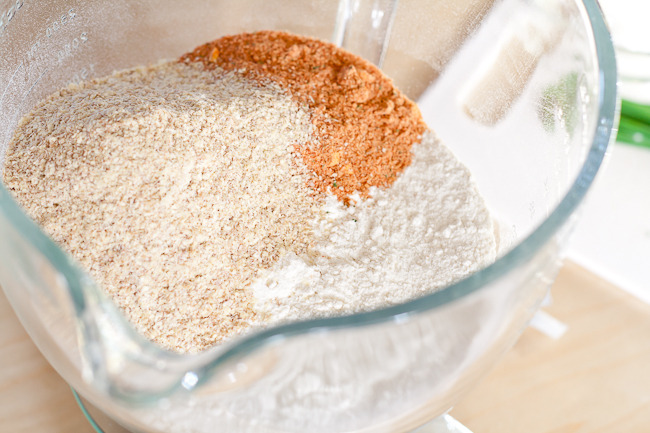
- In a large bowl, sift together flour, garlic salt and soup powder
- Stir in wheat germ
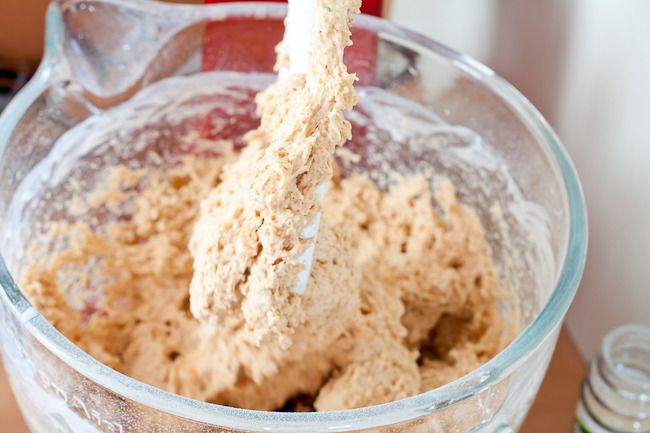
- Add buttermilk and mix until well combined
- Add chopped chives, mixed seeds and grated cheddar
- Mix until ingredients are evenly distributed
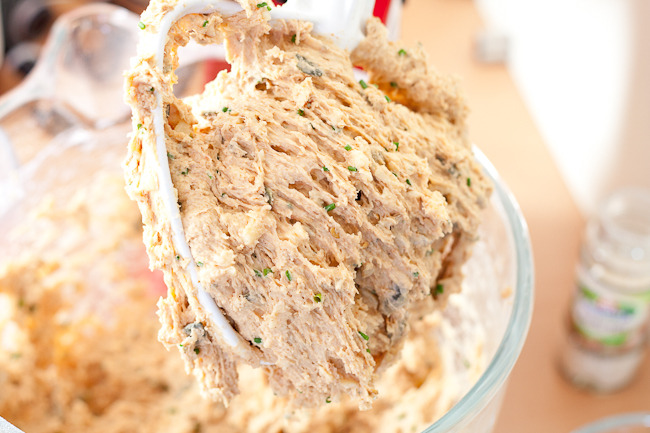
- Tip: The mixture should be very thick and sticky. If it's too dry, add more buttermilk, a Tbsp at a time
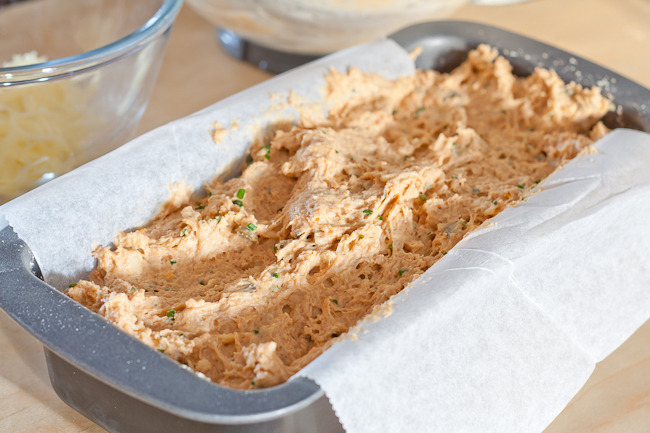
- Pour mixture into prepared tin and spread the dough out evenly
- Sprinkle the top with a handful of grated cheese and mixed seeds
- Bake for 50min - 1hr or until a skewer comes out clean
- Leave to cool in baking pan on a wire rack for about 10-15mins before turning out
- Enjoy while still warm or completely cool


